
Styles 1 and 2- 2 Major Design Steps Forward, 1 Step Back
This has been a very busy winter for STACKED.
Meet Alyssa, my dress form that I use for fit design before I call in my fit models. This is also style number 1, which is actually more a fit than a style. So originally I envisioned the first collection would be based entirely on designs with darts and princess seams doing all of the fabric shaping. I finally completed the basic block pattern shortly after Christmas. There’s nothing fantastic about the muslin but it fits a size 6D perfectly.
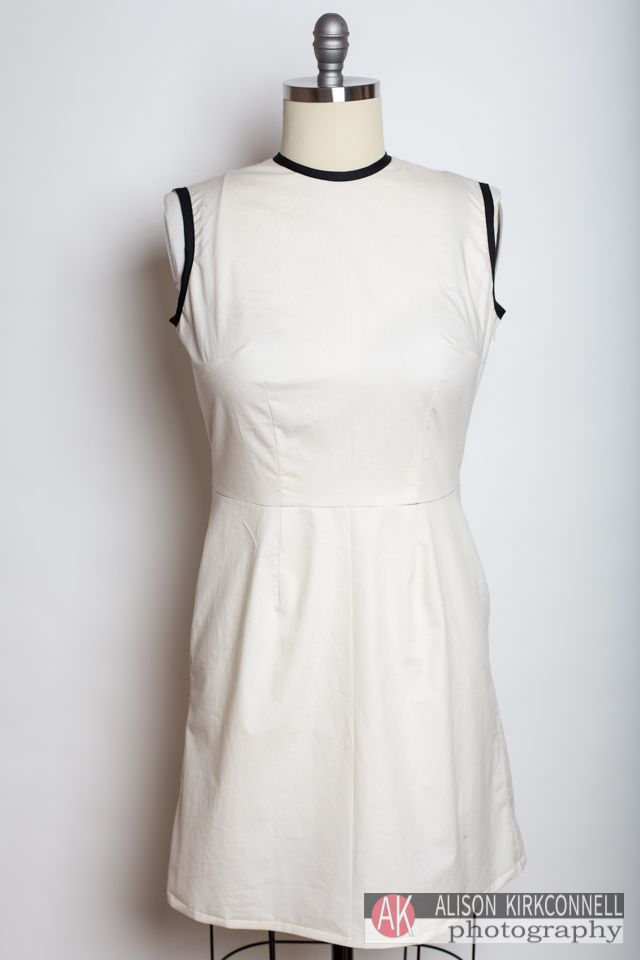
Style 1- the size 6D block with darts
Last fall I was shopping at TJMaxx and came across this shirt. I really liked the fabric’s colors and pattern and the trim so I tried it on. It hung like a tent. I knew it would. I started playing with the fabric in the dressing room and had an epiphany- pleats. It retrospect it seems so obvious to me now. I don’t know maybe I just had a mental block. I went to Catholic school and every morning I’d spend what seemed like hours ironing the pleats on my school uniform’s skirt. For whatever reason I didn’t see the potential then but I certainly do now. I bought the shirt and put in 2 pleats. Viola!
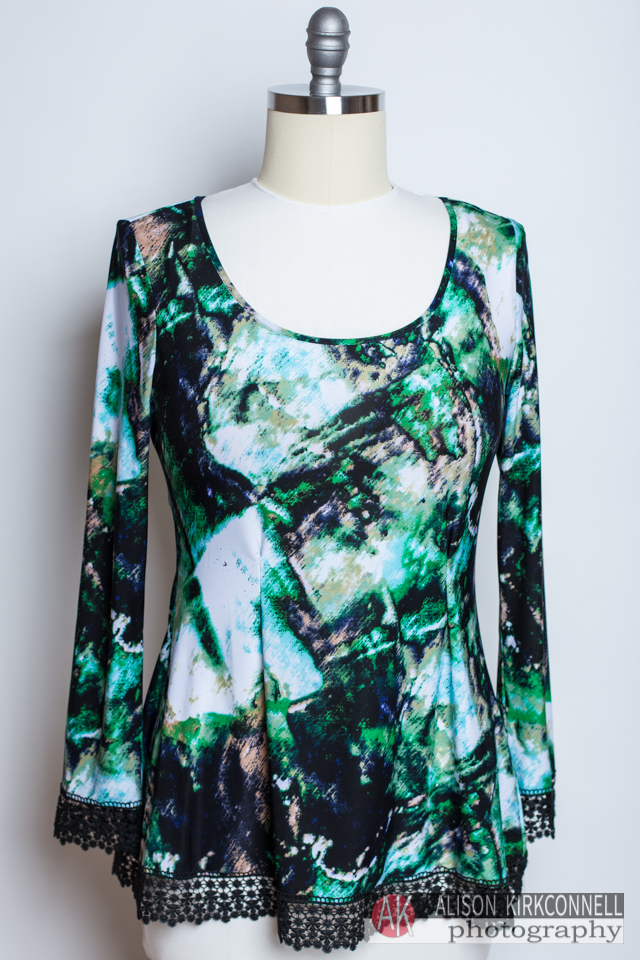
Commercial tunic with after market pleats
Here’s the detail on the pleat.
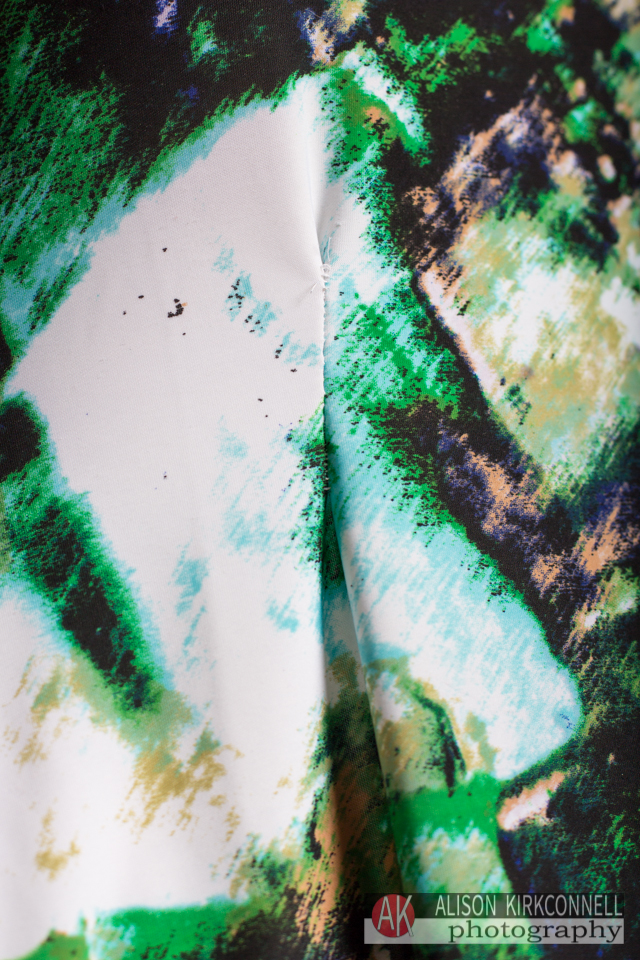
Pleat detail
And the side view of the shape that one pleat provided.
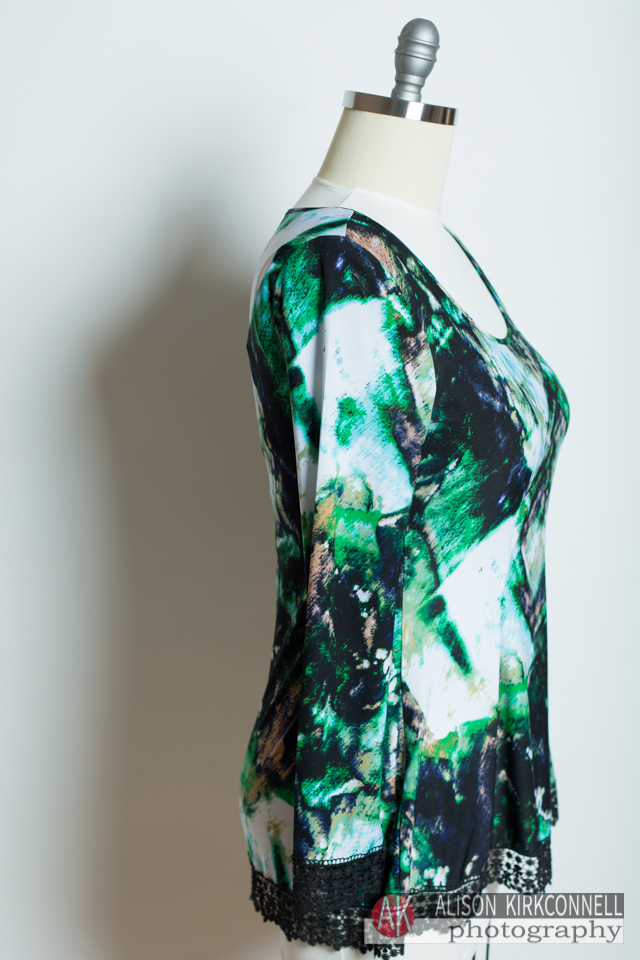
Pleat shaping result
This is style 2. I figured I’d try to combine a pleat and a dart and I’m so far thrilled with the result. So much so that I made a few muslins, drafted, redrafted, perfected the fit to the point I was ready to have my size 6D fit model come for a fit session. It fit her perfectly.
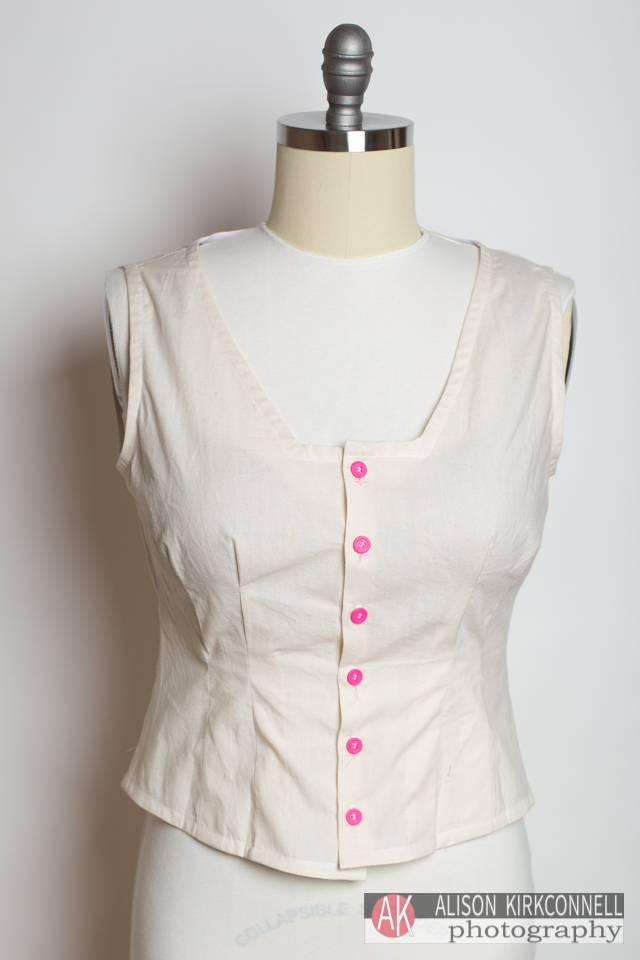
Style 2 size 6D front view

Style 2 size 6D back view
Here’s the back view.
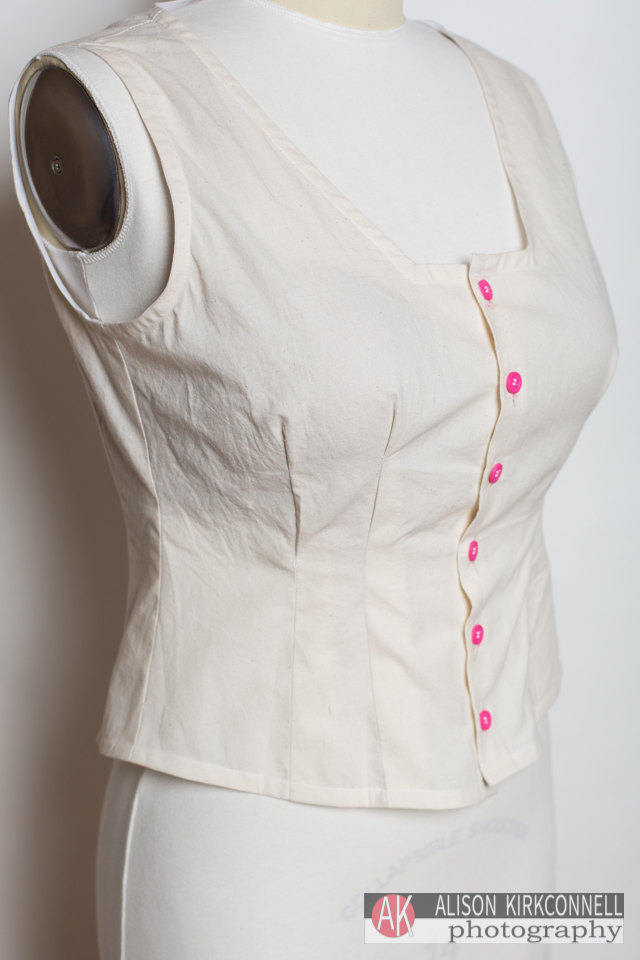
Style 2 size 6D side view
And the side view. The only issue I saw with it was that it was maybe an inch too short. So lengthened the pattern and sewed a new muslin. Here’s where I noticed the problems. The front bows out, a problem I initially thought was because I bias tape bounded the hem on the final style 2 size 6D muslin because all 8 fit model s will be trying it on and I wanted to ensure it stays together. That is not the case. It’s actually a pattern problem.
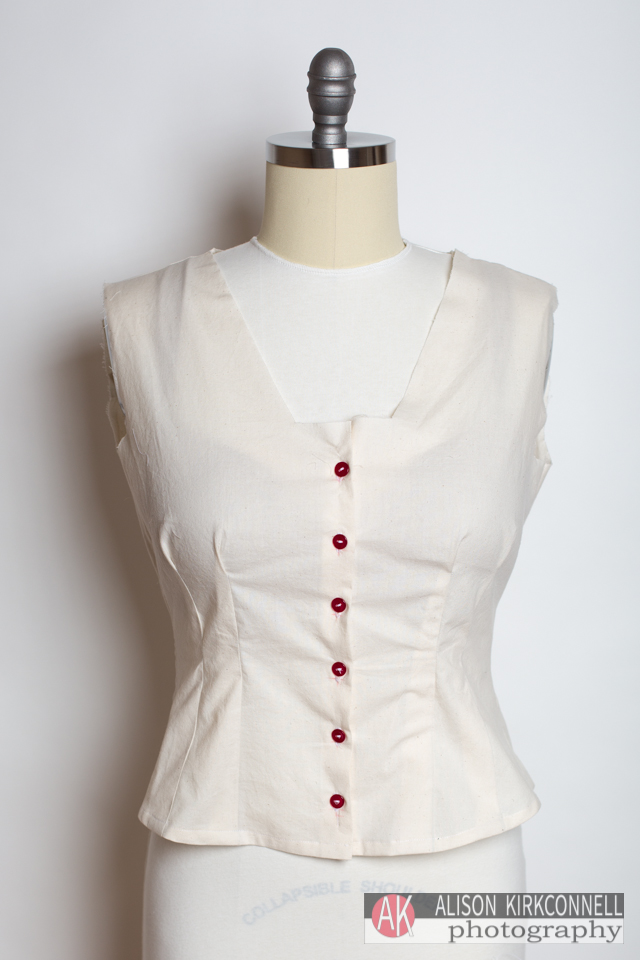
Style 2 size 6D front view- lengthened 1 inch
Here you can see two additional problems: the side seams are not correctly positioned and the font is shorter than the back by about an inch. This might explain why I thought it should be lengthened by an inch. Probably I was looking at just the front. I’m now in the process of making corrections. Or as the old proverb says: Back to the drawing table. It is literally a drawing table. A 3 foot by 6 foot drafting table.
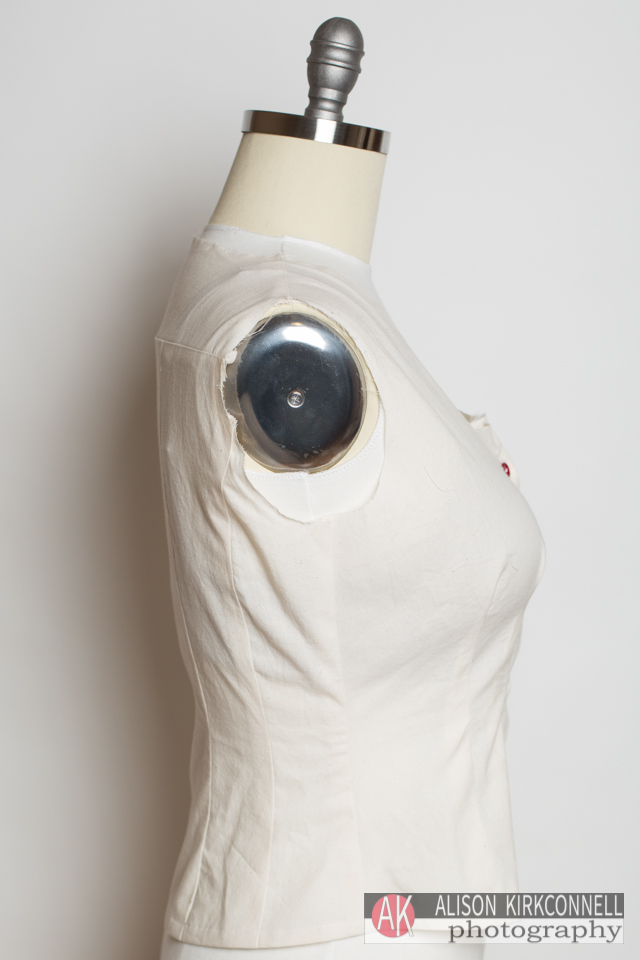
Style 2 size 6D side view- lengthened 1 inch